Key Takeaway
To reseal windows, apply exterior-rated caulk to fixed gaps around the frame and trim, and replace weatherstripping on moving sash parts. Together, these two fixes stop most air and water leaks around a sound window. Caulking and weatherstripping often pay for themselves within a year through lower energy bills, but neither fix will resolve fogged double-pane glass, rotted frames, or failed flashing, which all require professional evaluation or replacement.
To reseal a window, use caulk for the fixed gaps around the window frame and trim, and weatherstripping for the moving parts like the sash. Caulk stops leaks through stationary seams. Weather stripping seals the operable pieces that open and close. Together, they stop most air leaks and water leaks around a sound window. What resealing won’t fix is fog trapped between panes, a rotted window frame, or a bad installation. So if you’re a homeowner staring at a drafty or leaky window and wondering whether to grab a caulk gun or call someone, start here. Try the simple fix first, and know the signs that tell you it’s time for a professional.
First, Figure Out Which Window Seal Actually Failed
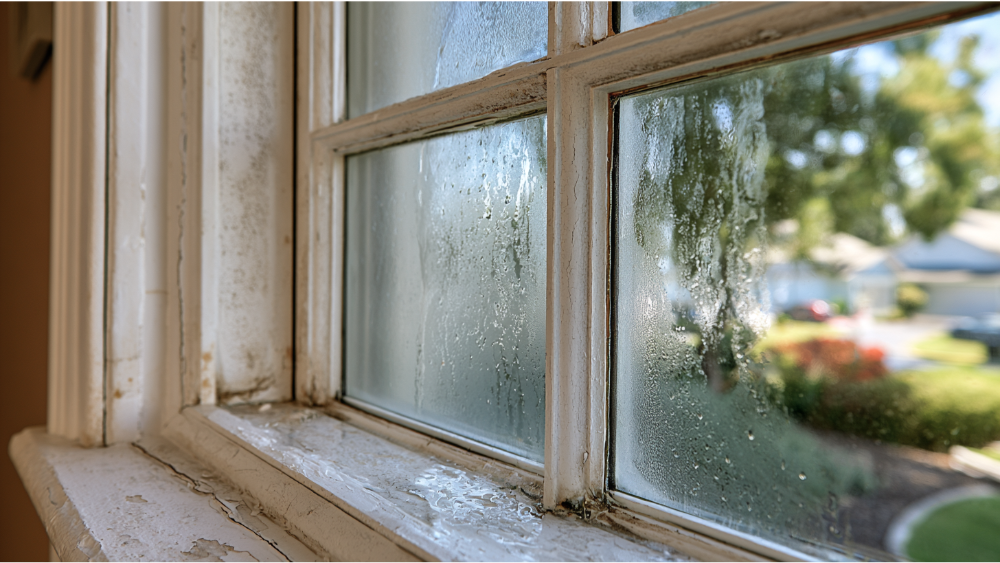
“Window seal” means a few different things, and picking the wrong fix wastes an afternoon. A draft at the trim is a different problem than fog between the panes, and only one of them responds to sealant. Before you touch anything, match your symptom to its likely cause. That single step decides whether you’re doing a 20-minute DIY job or scheduling a pro.
| Symptom | Likely cause | Best first fix | When sealing isn’t enough |
|---|---|---|---|
| Draft at trim or window frame | Failed perimeter caulk | Recaulk the fixed joint | Gap keeps reopening or water damage appears |
| Draft around the sash | Worn weatherstripping | Replace weatherstripping | Sash is warped or won’t lock |
| Draft behind the casing | Rough opening gap | Backer rod + sealant or low-expansion foam | Installation or flashing is wrong |
| Fog or moisture between panes | Failed insulated glass unit seal | Professional evaluation | Caulk can’t fix it |
| Water stains or soft trim | Flashing or drainage failure | Stop and inspect | May need repair or replacement |
Condensation trapped between the panes of a double-pane window points to a failed glass seal, not an air gap. Drafts that come and go around the frame usually trace back to old caulk or a rough installation. Reading the symptom right tells you which product to buy and whether the window frame itself is still worth saving.
Caulk vs. Weatherstripping: What Goes Where?
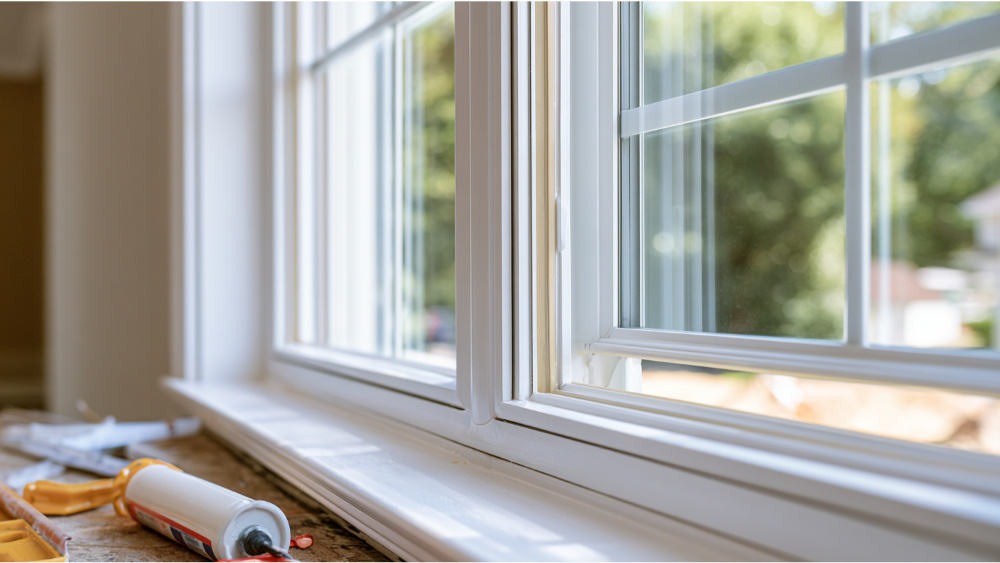
The whole job comes down to one rule:
- Caulk seals stationary joints: frame-to-wall seams, trim edges, and cracks that never move.
- Weatherstripping seals moving parts: the sash, the meeting rail, anywhere two surfaces slide or press together.
- Backer rod plus caulk or low-expansion foam fills larger hidden gaps behind the trim and drywall that caulk alone can’t bridge.
Caulk works well for gaps and cracks up to about a quarter inch wide. Anything wider needs backer rod to fill the void first. For sealant, silicone lasts and flexes but resists paint, while paintable acrylic-latex is easier to work with indoors. On the moving side, synthetic weatherstripping and rubber bulb strips outlast old-school felt by a wide margin. You can buy all of it at any local hardware store, and none of it is expensive. The U.S. Department of Energy notes that caulking and weatherstripping often pay for themselves in a year or less through lower heating and cooling bills.
How to Find Air Leaks Around Your Windows
Start with your eyes. Look for cracked or peeling caulk, cracks where trim meets wall, and dust or dirt trails that show where air pushes through. On a windy day, run your hand slowly around the sash, meeting rail, lock, sill, and all four sides of the trim. You’ll feel the cold spots.
For hard-to-find leaks, light a stick of incense and move it around the window frame. A wavering trail marks moving air. Keep any flame well away from combustion appliances and never leave it unattended. Check the exterior perimeter too, since leaks come from both sides.
A high energy bill is another clue. Heat gain and loss through windows accounts for 25% to 30% of a home’s heating and cooling energy use. Still, windows aren’t the whole story. The DOE identifies at least 19 areas of a house where air can escape. Good ventilation elsewhere matters too. Seal the obvious window gaps, but don’t assume your windows are the only culprit.
How to Reseal Windows: Caulking, Weatherstripping, and When Sealing Isn’t Enough Step by Step
Recaulking a window is one of the most satisfying small home jobs there is. Work through it in order:
- Pick the right sealant. Use an exterior-rated sealant on the exterior side and a paintable interior caulk inside. Silicone flexes and lasts; acrylic-latex tools and paints more easily.
- Remove the old caulk. Pull loose or failing beads out with a putty knife or scraper. New sealant won’t bond over old, cracked material, so pull every bit of it free.
- Clean and dry the surface. Clear away debris, dust, dirt, and paint flakes so fresh sealant can adhere properly. The joint has to be dry, ideally in low humidity so the bead skins over cleanly.
- Tape the edges with painter’s tape if you want crisp lines.
- Cut the nozzle small and load the tube into a caulk gun.
- Run one continuous bead along the joint, keeping steady pressure.
- Tool the bead smooth right away, before it skins over, with a wet finger or a caulk tool. Wipe away any excess sealant before it sets.
- Let it cure fully per the label.
- Inspect for missed gaps and cracks and touch up as needed.
A few cautions worth following: apply sealant above 45°F so it cures right. Seal both the inside and outside joints to block leaks from both directions. Never caulk moving parts, or you’ll seal the window shut and make normal operation impossible. Never block the weep holes or drainage channels at the sill, since those are designed to let water out. And never caulk over a wet frame or active water damage, which only traps moisture where it does the most harm.
How to Weatherstrip Windows (and Seal Hidden Gaps Behind the Trim)
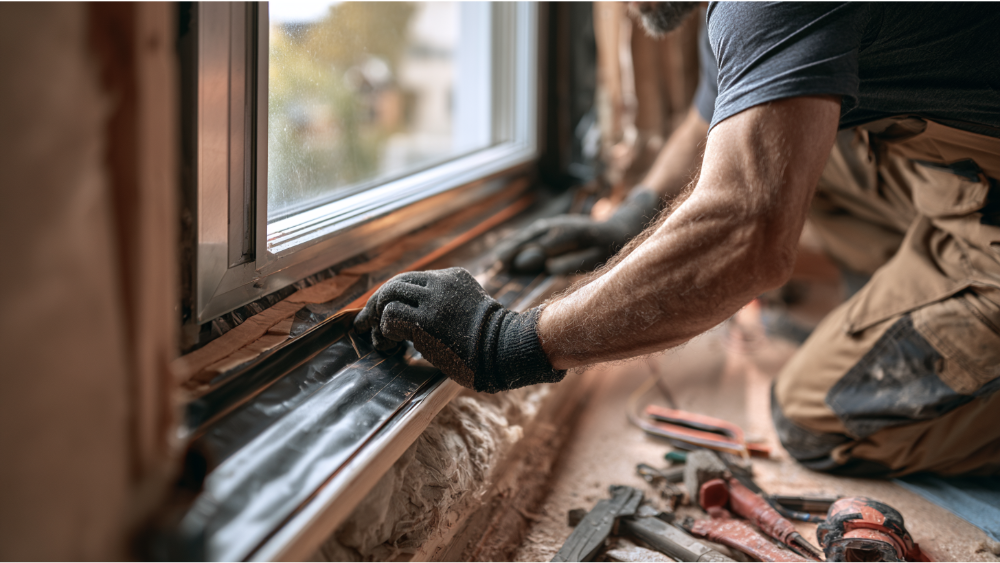
Weatherstripping handles the drafts a caulk gun can’t reach. Start by identifying your window type, whether it’s a slider or one of your casement windows, then measure the sash perimeter so you buy enough. Choose a material that fits the gap: foam tape for flat contact points, V-strip for sliding channels, or tubular bulb for wider compression gaps. Clean the surface, then apply or fasten the strip so it seats against the meeting sides evenly. Close and lock the window to confirm it compresses snugly without fighting smooth operation. Apply weatherstripping above 20°F, and like sealant, it can pay for itself within a year.
Drafts Behind the Trim, Old Caulk, and Weep Holes
Sometimes the leak is hiding in the rough opening, the gap between the window and the wall framing. Where the trim comes off cleanly, fill that space with backer rod and sealant or with low-expansion foam labeled specifically for windows and doors. Skip standard expanding foam, which can bow the window frame and jam the sash. Don’t rely on fibrous insulation alone either, because insulation slows heat but won’t stop air. While you’re there, scrape out any old caulk that has pulled loose and confirm the sill weep holes are still open. Sealing matters here: one study found that a 3/4-inch rough-opening gap sealed from the interior cut equivalent leakage from 28.2 down to 0.5 cm²/m².
When Resealing Isn’t Enough (and What to Do Instead)
Caulk and weatherstripping fix air gaps. They can’t fix a broken window. Watch for these red flags:
- Fog, haze, or moisture between the panes
- Rotted, soft, swollen, or warped window frames, common on older wood windows
- Windows that won’t open, close, or lock properly
- Water stains, bubbling paint, cracks in the trim, or leaks that keep coming back
- Drafts that return soon after you reseal
- Single-pane or dated windows still causing discomfort and high bills
- Signs of poor installation or failed flashing
Fog between the panes means the insulated glass unit’s seal has failed and the gas fill is gone. No exterior sealant reaches that space. Rot and warping are structural, especially in old windows made of wood, and bad flashing lets water into the wall and even the surrounding drywall where you can’t see it until the damage is done. A metal frame that has corroded or a wood window that has swollen shut is telling you the same thing. Storm windows can buy time on an older single-pane, but they are a stopgap. When the frame itself tells you it’s failing, that’s the moment to weigh professional repair or replacement instead of patching the same spot again.
What About Storm Windows?
Storm windows add a second layer of glass over an existing single-pane unit to cut drafts and trim heat loss. On a historic house where you want to keep your existing windows and original wood frames, they can be a reasonable middle path. But storm windows don’t repair a failing frame, and they don’t match the year-round comfort and efficiency of a modern replacement. If your windows are already fogged, rotted, or stuck, the storm window is a bandage on a bigger problem.
A Northern California Note: Title 24, Heat, and Older Homes

Our long, sunny summers make solar heat gain a real comfort and cost problem, which is why window performance matters here. Two numbers on the label tell the story. U-factor measures how much heat flows through the window, so lower is better. SHGC measures how much solar heat gets blocked, and a lower number blocks more sun. For a hot-summer climate, both count. Good glass paired with proper insulation and sealant around the frame keeps that heat where it belongs, and letting daylight in through a well-sealed window shouldn’t mean letting heat in with the light.
Replacement windows in California generally must meet Title 24 energy standards. Permit applications filed on or after January 1, 2026 fall under the 2025 Energy Code, so check your local permit requirements before you have windows replaced. Look for Energy Star® certified, NFRC-rated windows and doors. And if your home predates 1978 and the work disturbs old paint, the EPA recommends hiring a lead-safe certified contractor.
Reseal, Repair, or Replace, and How Elevate Can Help
Here’s the quick decision recap:
- Sound window, draft at the frame → reseal with caulk
- Sash leaks but operates fine → replace the weatherstripping
- Fog between the panes → get a professional evaluation
- Rot, water damage, or windows that won’t operate → consider having them replaced
When the fix moves past a caulk gun and a trip to the hardware store, we keep it simple and stress-free. We install factory-direct Anlin windows, Energy Star® certified and Title 24 compliant, backed by the Anlin double lifetime warranty plus our own 10-year labor warranty. We handle windows and doors alike, seal every joint with precision, and clean up after ourselves. Installing a window right the first time is the whole point. 0% APR financing is available on approved credit, with terms reviewed during your consultation. Not sure where to start? Try our online window cost estimator, or book a free, no-obligation estimate. We serve Sacramento and Northern California. Get a Free Estimate or call (916) 202-2282.