A Complete Home Exterior Guide
Understanding what preparation is needed before siding installation is the foundation of a successful exterior upgrade. This is especially true for any siding installation on a residential house where performance depends on what is behind the surface, not just the visible finish. A well-planned siding installation protects the home, improves energy efficiency, and prevents long-term issues like water infiltration, loose boards, and structural damage. Whether the project involves vinyl siding installation, vertical siding, or horizontal siding, preparation determines the outcome.
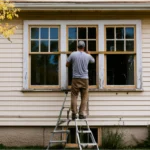
Before any siding installation begins, the contractor evaluates the home’s exterior walls, existing siding conditions, and structural integrity. If existing siding is present, it is carefully removed during siding replacement so the sheathing can be inspected. This ensures the new siding is installed on a stable and properly prepared surface.
Why Proper Siding Preparation Matters More Than the Siding Itself
A siding installation is only as strong as the system behind it. Even high-quality vinyl siding or engineered siding panels will fail if the wall system is not properly prepared. Most siding issues are not caused by the material itself but by missing steps in preparation before installation.
A contractor must assess the home’s exterior, inspect exterior walls, and confirm that all surfaces are ready for siding installation. This includes checking for loose boards, damaged wood, or signs of moisture damage. If these issues are ignored, the siding installation will not perform correctly over time.
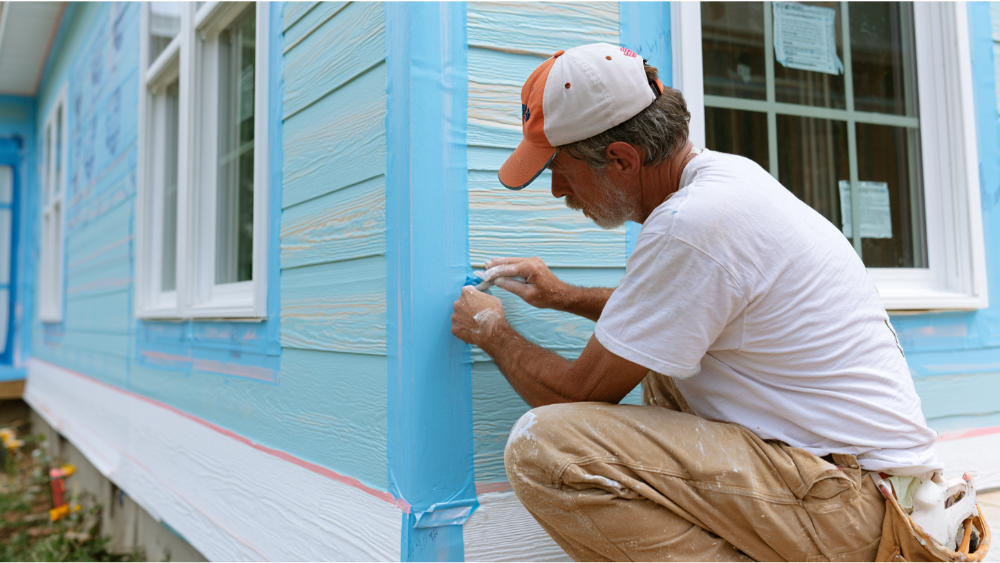
Vinyl siding installation in particular requires a clean, flat, and dry surface. Without this, siding panels may warp or shift. Proper preparation ensures siding installation lasts longer and performs as intended under weather conditions.
The Hidden Cause of Most Siding Failures
Most siding failures come from poor preparation during siding installation. When existing siding is removed, hidden issues often appear such as rotted wood, damaged sheathing, or improperly installed fasteners. If the contractor does not address these problems before siding installation continues, the new siding system will fail prematurely.
Water infiltration is one of the most common problems behind siding failures. Moisture trapped behind siding panels can damage insulation, framing, and interior walls. This is why proper preparation before vinyl siding installation is critical.
Long-Term Performance Versus Short-Term Installation
A properly executed siding installation follows strict manufacturer’s instructions and building codes. When vinyl siding installation or vertical siding installation is done correctly, the system protects the house for decades. When shortcuts are taken, the siding installation may look fine initially but fails over time due to trapped moisture, poor fastening, or uneven surfaces.
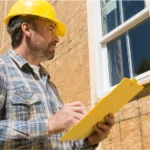
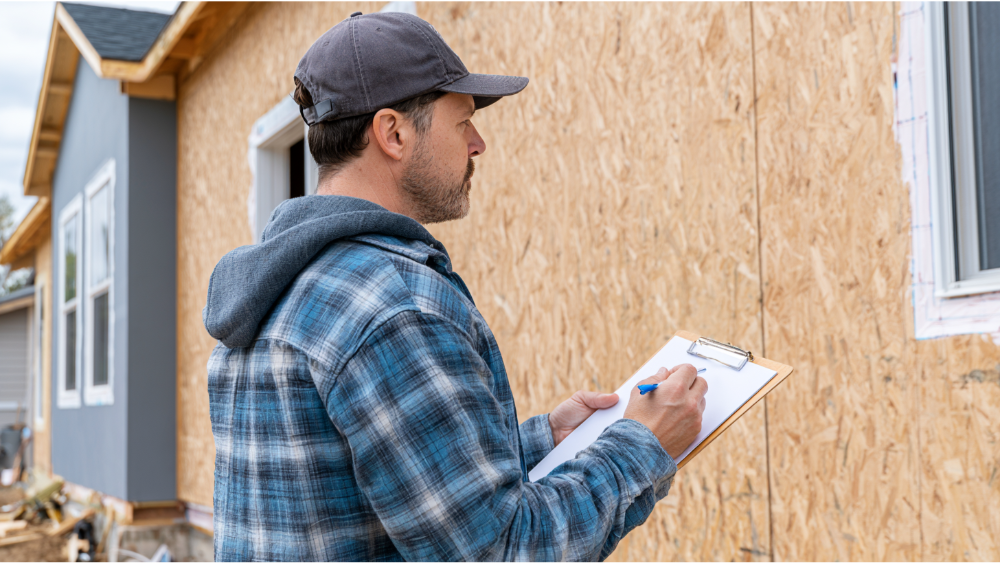
Step 1 | Structural Inspection of Exterior Walls
Before siding installation begins, the contractor inspects the exterior walls of the house. This includes evaluating sheathing, framing, and any remaining old siding if it has not been fully removed.
Loose boards are secured or replaced, and damaged wood is repaired. Sheathing must be solid enough to support nails and fasteners used during siding installation. Without this, siding panels will not stay properly secured.
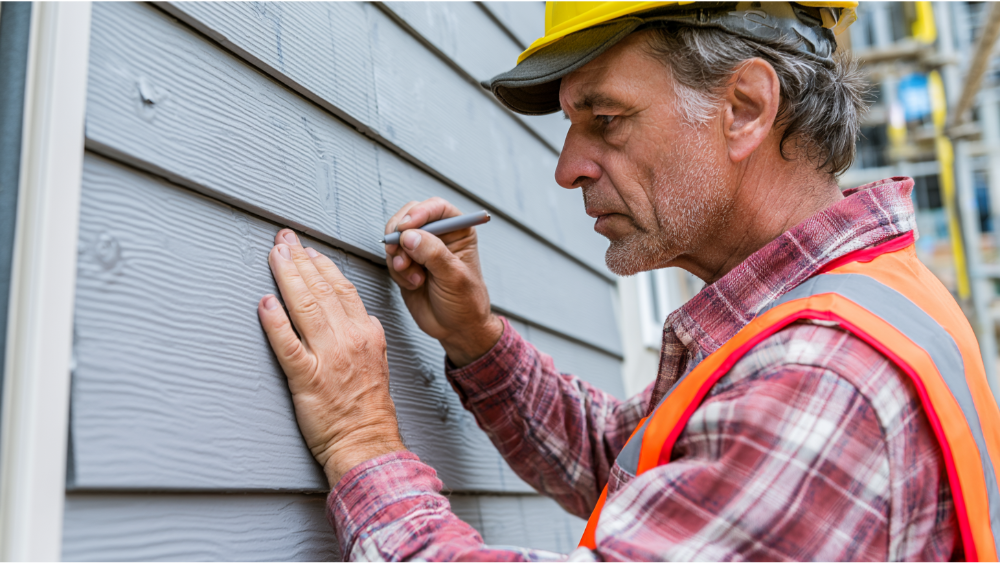
Checking Sheathing Integrity and Wood Condition
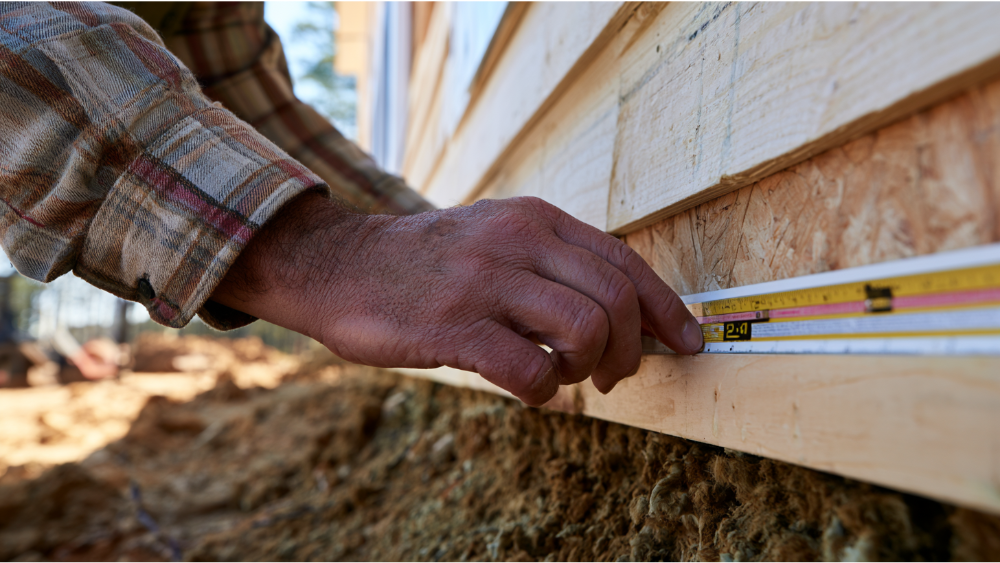
Sheathing must be inspected for rot, mold, and weakness. Wood that has been damaged by moisture cannot support siding installation and must be replaced. This is especially important during siding replacement projects where old siding is removed.
Evaluating Framing Alignment and Wall Flatness
Walls must be straight and level before siding installation. If the framing is uneven, siding panels will not align correctly. This is critical for both horizontal siding and vertical siding installation, where alignment impacts appearance and durability.
When Repairs Are Required Before Siding Installation
If structural issues are found, repairs must be completed before siding installation continues. This may include replacing wood, reinforcing framing, or correcting areas affected by water infiltration.
Step 2 | Moisture Barrier and Weather Protection System
A moisture barrier is essential for any siding installation. It protects exterior walls from water infiltration while allowing the home to breathe.
Weather Resistant Barrier and House Wrap Installation
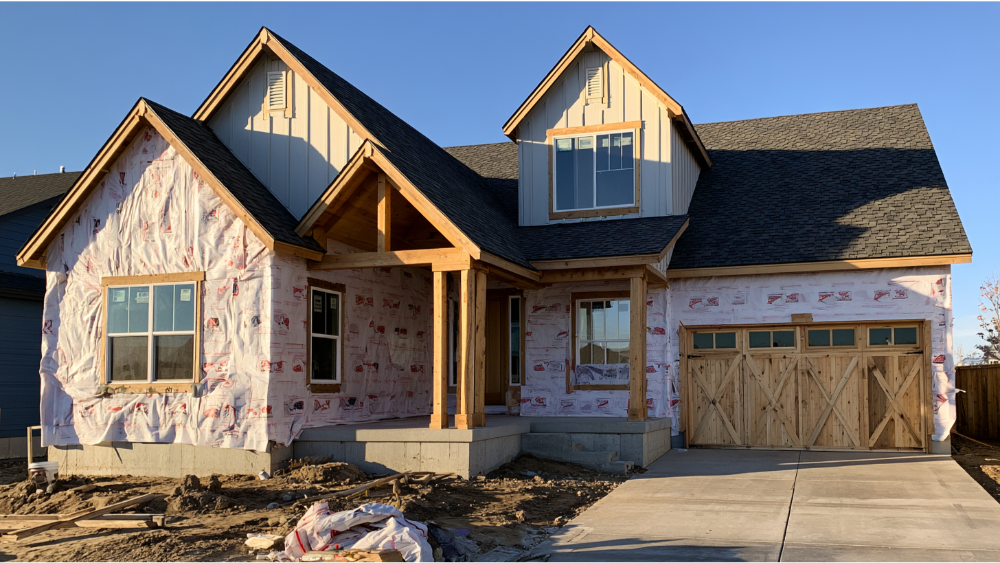
A weather resistant barrier or house wrap is applied directly to the sheathing before siding installation begins. This layer is critical in vinyl siding installation projects because it prevents moisture from entering the wall system.
Sealing Seams and Protecting Openings
All seams must be sealed properly to prevent moisture intrusion. Openings around windows and doors are especially vulnerable during siding installation. Proper sealing ensures long-term protection of the house structure.
Step 3 | Flashing and Corner Protection
Flashing is one of the most important parts of siding installation. It protects vulnerable areas such as windows, doors, and corners.
Corner posts are installed before siding panels to ensure clean edges and proper alignment. These components are essential in both vinyl siding installation and vertical siding installation.
Flashing directs water away from the home and prevents water infiltration behind siding panels. Without proper flashing, even new siding can fail quickly.
Step 4 | Air Sealing and Insulation Preparation
Air sealing improves energy efficiency and supports proper siding installation. Gaps in the exterior walls allow air movement that can lead to moisture buildup.
Before siding installation begins, contractors seal gaps around windows, doors, and framing joints. Insulation behind the walls is also checked to ensure proper coverage. This step supports long-term performance of vinyl siding and other siding systems.
Step 5 | Wall Surface Preparation and Leveling
A flat surface is essential for siding installation. If the wall is uneven, siding panels will not sit correctly and may warp over time.
Installing Furring Strips for Proper Alignment
Furring strips may be installed to create a level surface for siding installation. These strips also create space for ventilation, which improves performance and reduces moisture buildup behind siding panels.
Correcting Uneven Exterior Walls
If the exterior walls are not level, adjustments are made before siding installation begins. This ensures vinyl siding installation and horizontal siding installation both perform correctly.
Step 6 | Material Handling and Jobsite Preparation
Proper preparation includes organizing materials and preparing the jobsite before siding installation begins.
Vinyl siding, siding panels, and other materials must be stored correctly before installation. They should be kept off the ground, covered, and protected from weather. Patio furniture, tools, and debris are moved away from the work area so the crew has clear access.
When the crew arrives, the site must be ready for efficient siding installation. A clean workspace improves safety and speed during the installation process.
Step 7 | Fasteners, Tools, and Code Requirements
Fasteners play a critical role in siding installation. Nails and screws must be installed correctly to hold siding panels securely in place.
Incorrect fastening can lead to movement, noise, or failure over time. This is especially important in vinyl siding installation where expansion and contraction must be accounted for.
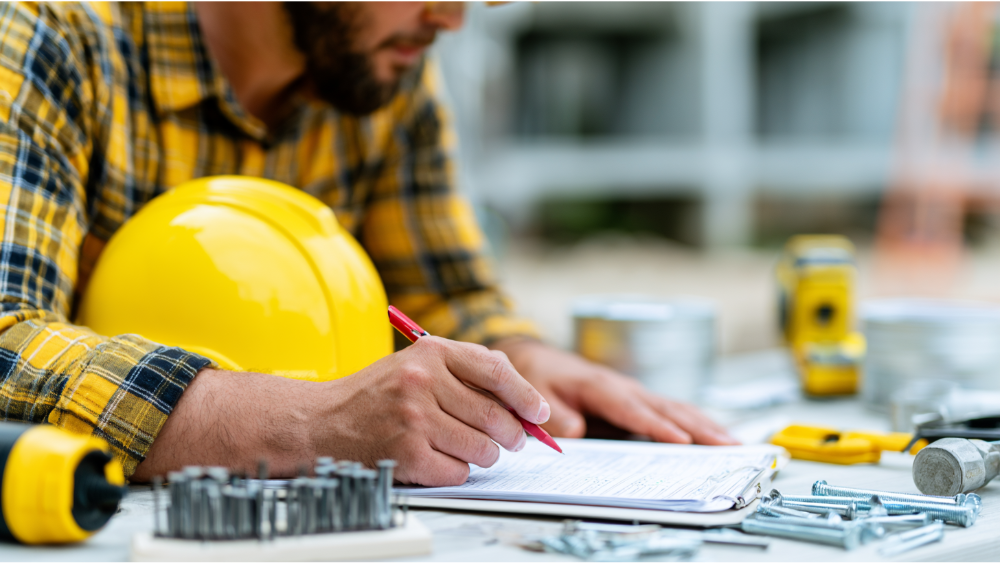
Building codes and manufacturer’s instructions must always be followed during siding installation. These guidelines ensure the system performs properly under weather conditions and structural stress.
Step 8 | Final Inspection Before Siding Installation Begins
Before siding installation starts, the contractor performs a full inspection of the home’s exterior.
This includes checking the moisture barrier, flashing, corner posts, and wall surface. Any remaining loose boards are corrected, and all materials are confirmed ready for installation. This final check ensures the siding installation process can proceed without issues.
Common Mistakes During Siding Installation Preparation
Many siding problems come from skipped steps during preparation. Installing siding over damaged wood or old siding can lead to long-term failure.
Failing to properly seal windows and doors can result in water infiltration. Poor handling of vinyl siding materials before installation can also lead to warped siding panels. Each of these mistakes reduces the performance of the siding installation and increases future repair costs.
How Professional Siding Installation Protects Your Home
Professional siding installation ensures every step of the process is completed correctly. From inspecting exterior walls to installing siding panels, each phase is carefully managed.
A qualified contractor understands how vinyl siding installation, vertical siding, and horizontal siding systems behave under different weather conditions. Proper preparation protects the home, improves insulation performance, and ensures the siding system lasts for many years.
When siding replacement is handled professionally, the home’s exterior becomes stronger, more efficient, and more resistant to water infiltration and weather damage.
Frequently Asked Questions About Siding Installation Preparation
What is the first step in preparing for siding installation?
The first step is a thorough structural inspection of the exterior walls. This includes checking for damaged wood, loose boards, and ensuring the sheathing is solid enough to support the siding. Addressing any issues found during this inspection is critical before proceeding.
Why is a weather-resistant barrier important before siding installation?
A weather-resistant barrier, such as house wrap, protects the home from water infiltration while allowing the walls to breathe. This barrier prevents moisture buildup behind the siding, which can cause damage to the structure and reduce the siding’s lifespan.
How does flashing protect my home during siding installation?
Flashing is installed around windows, doors, corners, and roof intersections to direct water away from vulnerable areas. Proper flashing prevents water infiltration behind siding panels, which is essential for long-term durability and preventing mold or rot.
What preparation is needed for the yard and property before siding installation?
Before installation, outdoor furniture, decorations, and vehicles should be moved away from the work area. Landscaping should be trimmed, and grass cut short to facilitate cleanup and protect plants from accidental damage. Clearing the driveway and garage access is also important for equipment and material delivery.
How long does siding installation typically take?
A standard siding installation project usually takes between 7 to 14 days. This timeline includes removing old siding, making necessary repairs, installing the weather barrier, and completing the new siding and trim installation.
Can siding installation cause damage to my home or property?
While professional installation minimizes risks, accidental damage can occur if proper preparation is not followed. Protecting landscaping, securing loose items, and ensuring a clean worksite help prevent damage from construction elements and debris.
Conclusion
Proper preparation is the foundation of a successful siding installation project. From the first step of structural inspection and moisture barrier installation to careful flashing and jobsite organization, each phase ensures the siding system performs well for years to come. Taking the time to prepare your home and property not only protects your investment but also helps avoid costly repairs and accidental damage. By working with a professional contractor who follows these preparation steps, you can expect a durable, attractive, and energy-efficient exterior that enhances your home’s value and curb appeal.